Hull Rupture Ships & Modules — 3 Ships, 6 Modes, 4 Modifiers
Hull Rupture's replayability is built on one line of the store description: mix 3 ships, 6 modes and 4 modifiers for endless replayability. The ships are not skins. The developers state that layouts, systems and loss thresholds vary between hulls, which changes your priorities, the risks you can accept and the survival projection of the crew executing your decisions. Modules are the other half — purchased, placed and connected inside the hull to produce resources, repair damage, boost efficiency and reinforce defenses.
What the Three Ships Actually Change
The official wording is compact and worth reading twice: different ship models influence how situations unfold, as layouts, systems and loss thresholds vary between hulls. Those three differences affect priorities, acceptable risks and survival projections, particularly for the crew tasked with executing your decisions.
Layout is the map: how the hull's rooms and connections are arranged determines where a module can go and how much slack you have when a room becomes unusable. Systems are the tools the hull brings to the run. Loss thresholds are the price of failure — how much damage or how many people the ship can absorb before the run is decided. A ship with a generous hull but awkward internals plays very differently from a cramped ship with excellent systems.
Because the store confirms the counts but not the names, this page does not list ship names, mode names or modifier names. When the developers publish them — or when the launch build makes them visible — this section becomes a comparison table. Until then, the framework above is the honest way to evaluate whichever three hulls you are given.
The Four Jobs a Module Can Do
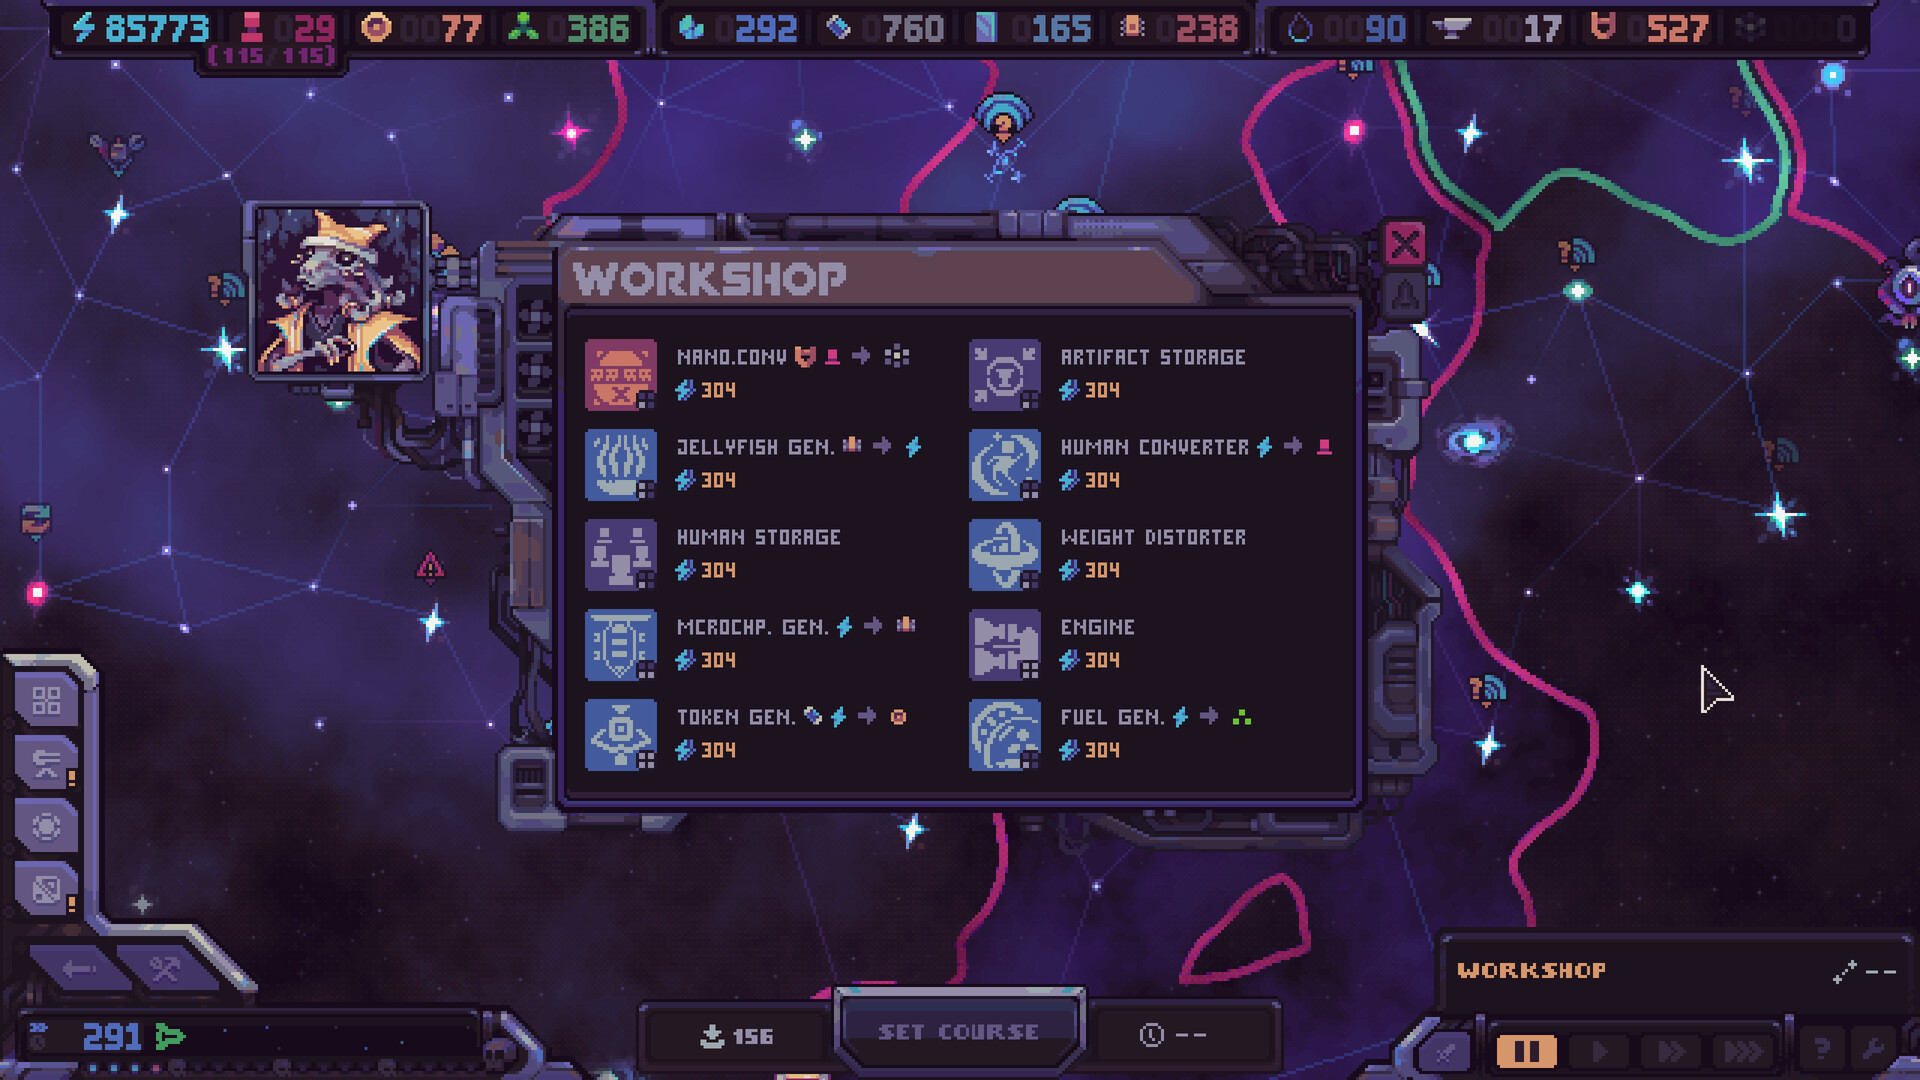
The word doing the heavy lifting in that list is interconnected. Modules are described as a connected system, not a shopping list: production feeds repair, repair protects production, and efficiency multiplies whatever the rest of the grid is already doing. The official screenshots show a workshop panel where these pieces are purchased and dropped into the ship's rooms, which is why placement decisions keep mattering after the purchase is paid for.
Every resource has a purpose, the store says, and humans are included in that sentence while supplies last. The practical reading is that nothing in the grid is decoration: if a module produces something, something else should be consuming it, and if a room exists to hold people, those people should be doing work that keeps the ship moving.
| Module job (official) | What the store says | What it costs you |
|---|---|---|
| Produce resources | Interconnected modules produce resources | Space and power draw; production that cannot reach a consumer is wasted |
| Repair damage | Modules repair damage | Slack that becomes critical the first time the hull opens up |
| Boost efficiency | Modules boost efficiency | Indirect payoff; punishes players who need results this wave |
| Reinforce defenses | Modules reinforce defenses | Competes with offense for the same breach-adjacent space |
Resources, Power and Human Lives
The first bullet of the official feature list is the whole game compressed: manage resources, power and human lives to keep the system running. Three currencies, one deadline. Resources are what you spend, power is what you distribute, and human lives are both the labour that operates the grid and a material the ship will happily consume.
That last point is not a joke in the marketing copy — it is echoed twice, in the cargo of cooperative personnel and in the phrase that humans are included among resources. In run terms it means a large population is production capacity and a small population is flexibility: fewer mouths to feed, fewer hands to work. The hull's loss threshold decides how close to the edge you can fly before that trade stops being a choice.
Power deserves its own warning because it is the least visible of the three. Modules that are not powered behave like modules you did not build, and an unpowered defense is worse than no defense because it was paid for. Whatever the launch build's exact power rules turn out to be, the habit is the same: check what the grid is drawing before you celebrate a new module.
Modes and Modifiers: Where Replayability Comes From
Six modes and four modifiers multiply the three ships into a large space of runs, and the store frames that combination as the source of endless replayability rather than as a menu of difficulty settings. The safe assumption — and the one we would act on — is that modes change the shape of a run (what you are trying to do, how long it lasts, what pressures apply) while modifiers bend the rules around it.
Because none of the names or effects have been published, treat any tier list of ships, modes or modifiers you find elsewhere as fiction. What is defensible today is a process: pick one hull, learn its loss threshold by finishing runs, then add a modifier and see which of your habits breaks first. That is a slower path than copying a build, and it is the only one this site will recommend before the content is public.
How To Pick a Hull When the Full Game Lands
- Start with the layout: open the ship, trace where production sits relative to the rooms that will be breached, and decide whether the hull makes that path short or painful.
- Check the systems the hull brings before you plan a build around modules you would have to buy anyway.
- Find the loss threshold early. Knowing how much damage and how many people you can lose reframes every risk you take afterwards.
- Match the hull to your appetite: if you want to route for profit, take the ship whose threshold lets you survive a bad encounter; if you want clean runs, take the one that forgives layout mistakes.
- Use the demo, then the first full runs, to test one hull honestly before cycling through all three. Comparisons on paper are worthless when layouts differ this much.
What We Refuse To Invent
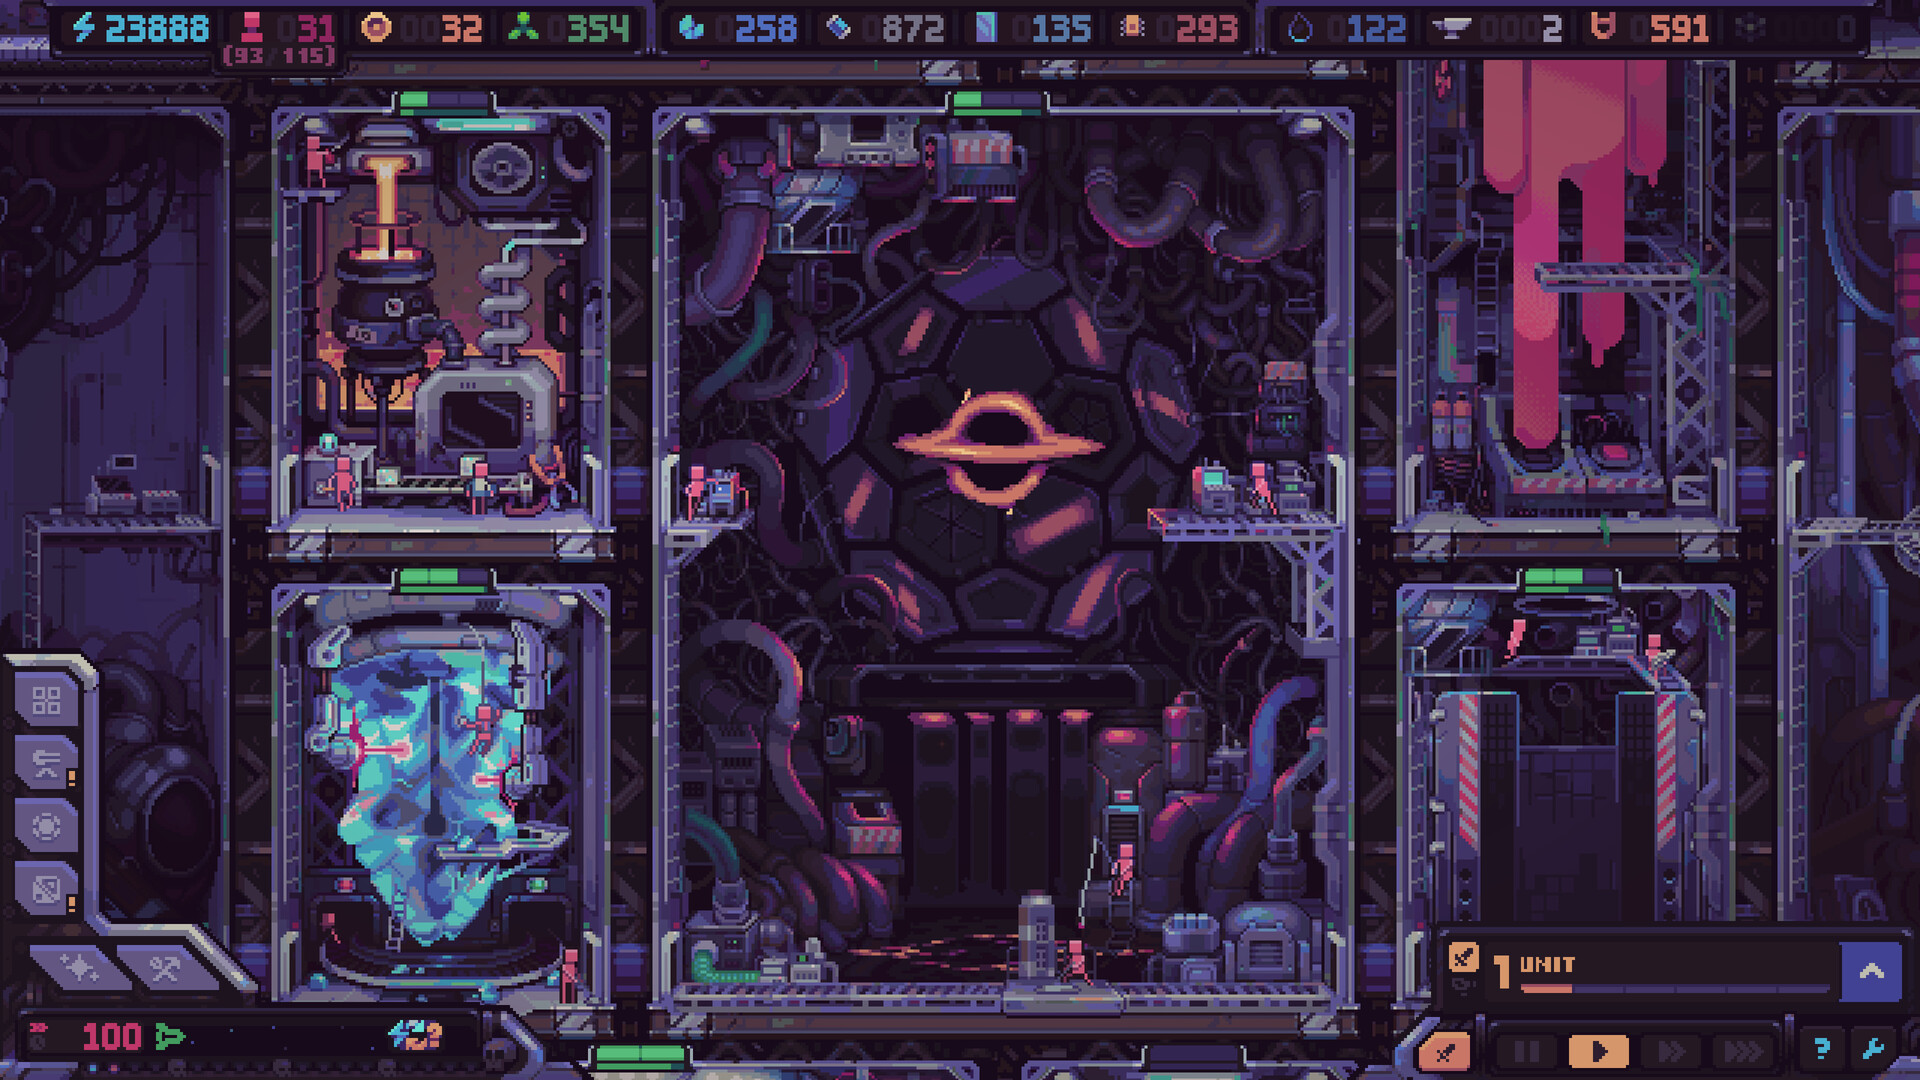
No ship names, no mode names, no modifier names, no module stat tables and no tier list. Konfa Games and tinyBuild have published the counts and the four module jobs, and that is what this page describes. Everything visible in the official gallery — the workshop panel with generators, storage and converters, the star map with its routes and shipyard stops, the engine room, the crew decks — is cited as screenshot evidence rather than translated into numbers we cannot verify.
This is a deliberate trade. A guide that invents a tier list is more pleasant to read for a week and useless the moment the game ships. This one will be thin but correct until November 4, 2026, and then it gets filled in with real data from the build.
FAQ
How many ships are in Hull Rupture?
Three. The store advertises 3 ships combined with 6 modes and 4 modifiers, and states that layouts, systems and loss thresholds vary between hulls.
What do modules actually do?
Four officially described jobs: produce resources, repair damage, boost efficiency and reinforce defenses — built as an interconnected system inside the ship's grid.
Can I skip power management?
No. Resources, power and human lives are listed as the three systems you manage to keep the ship running, and modules without power are effectively dead weight you have already paid for.
Is there a best ship or best build yet?
Not one that can be honestly published. Ship, mode and modifier names and stats have not been released, so any ranking you see elsewhere is guesswork.