Hull Rupture Defense Guide — Breaches, Kill Zones and Waves
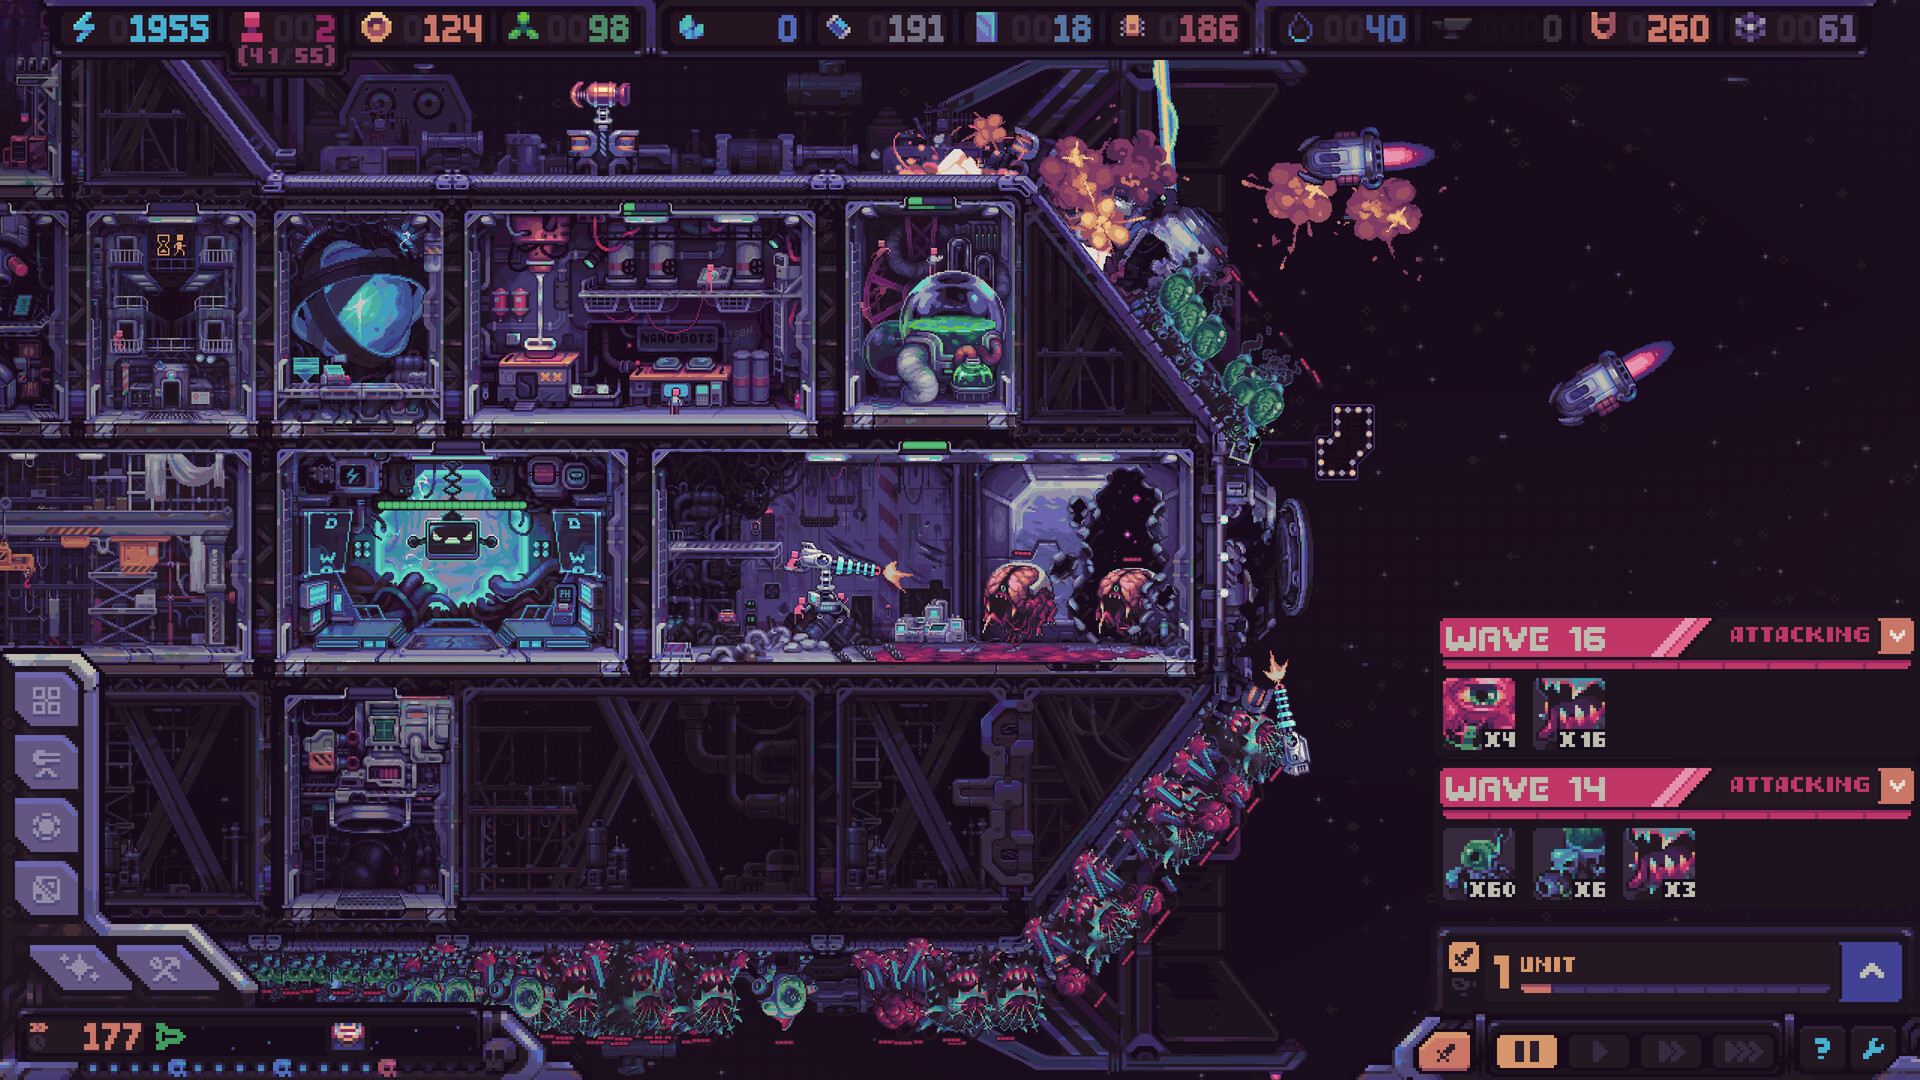
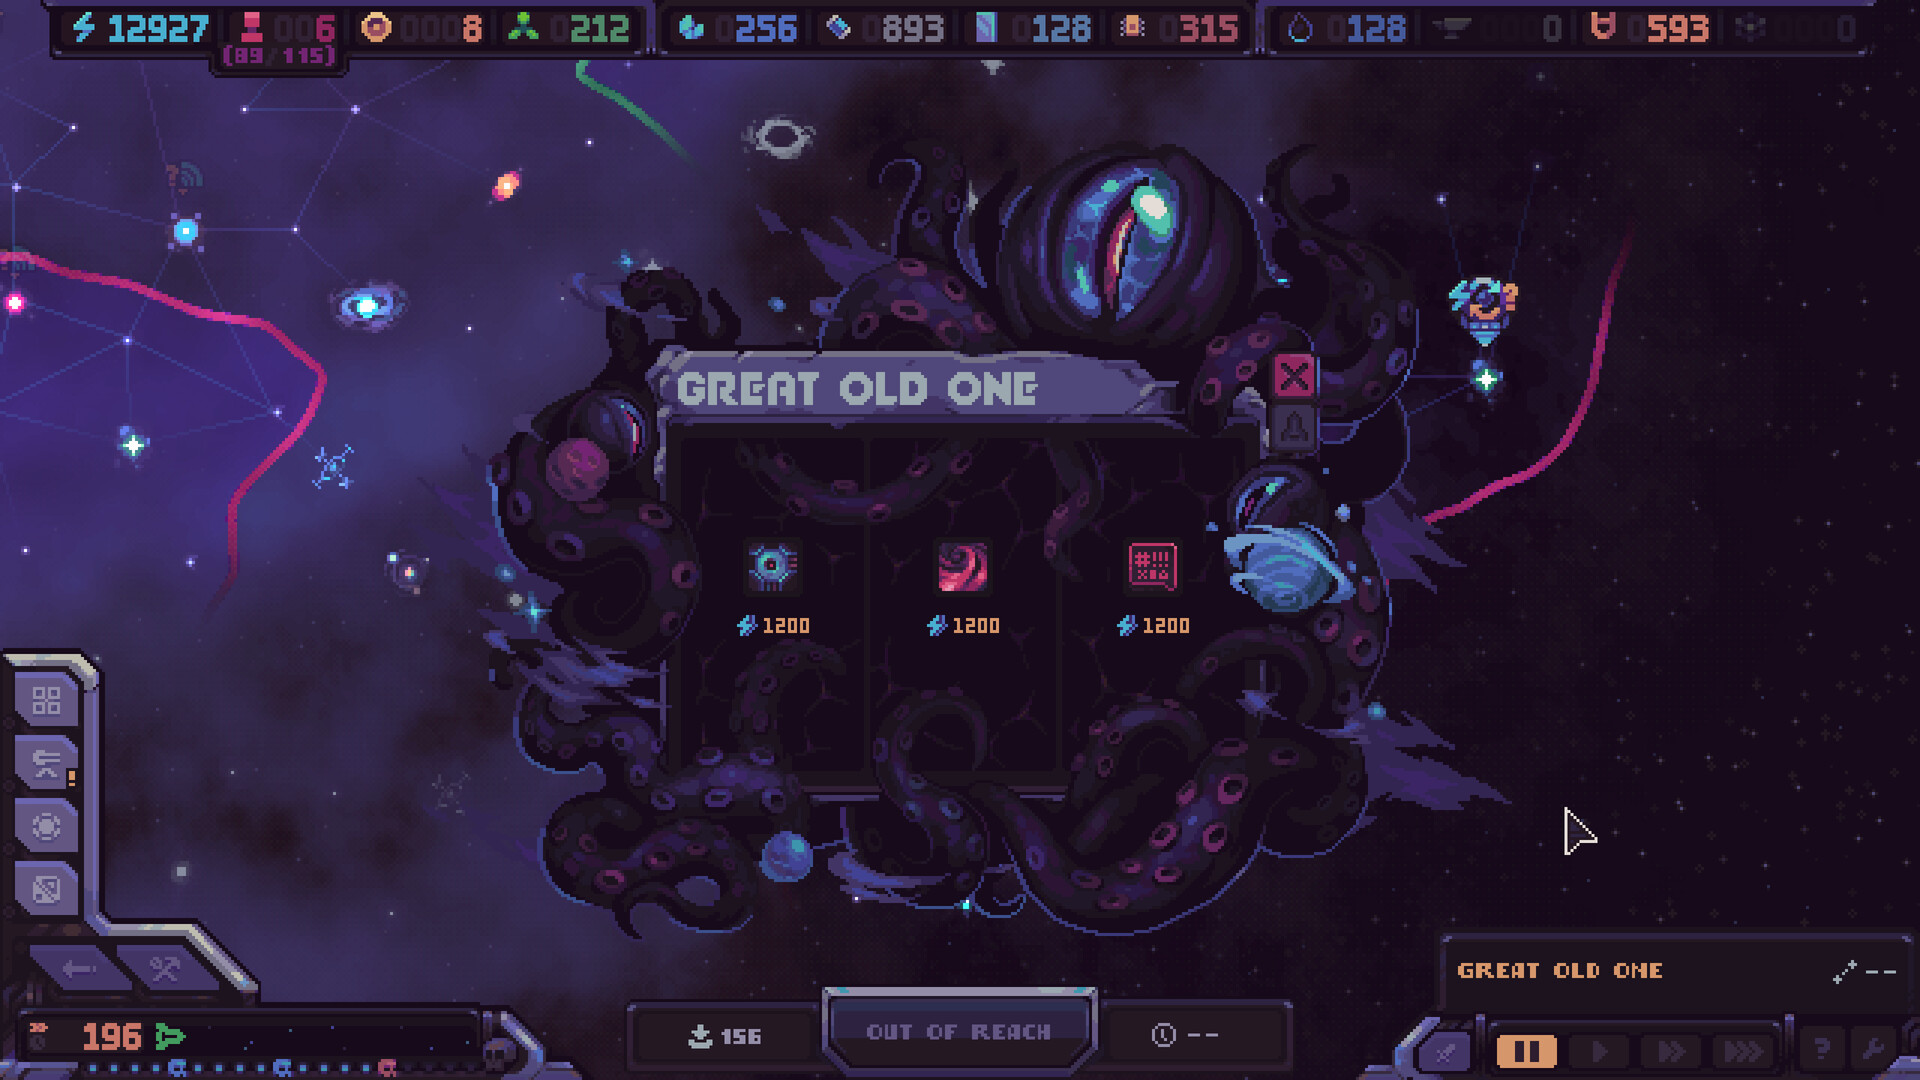
Combat in Hull Rupture is not a surprise. Aliens do not knock — they rip holes straight through your hull — and you know exactly when they will arrive and where they will breach. The store's own line is that this somehow still is not enough, and that is the entire defensive problem in one sentence: information is free, preparation is not. Your job is to place turrets, traps, barricades and automated defenses so that aliens entering through known holes are funneled into carefully planned kill zones while the humans assist.
How Breaches Work
The rule is blunt: aliens rip holes straight through your hull rather than entering through doors. You are told when they will arrive and where they will breach, and the developers note that even that is not enough. The gap between knowing and coping is the game. A breach is not just an enemy spawn — it is a hole in the structure you were using, which means the room behind it may stop working at the moment you need it most.
That framing changes what defense means. You are not building a wall to hide behind; you are building a route through your own ship. Turrets, traps, barricades and automated defenses exist to funnel enemies into carefully planned kill zones, and the humans assist — which is consistent with the rest of the game's tone, where people are listed among your resources while supplies last.
The Four Defensive Tools
The one instruction the developers give about placement is worth memorising: funnel enemies into carefully planned kill zones. That phrasing is a hierarchy. Barricades and traps decide where enemies go, turrets decide what happens when they get there, and automated defenses keep the arrangement working when your attention is elsewhere. Building four turrets in four different rooms is not a defense; it is four separate fights you will lose one at a time.
| Tool (official) | What the store says it does | Where it earns its space |
|---|---|---|
| Turrets | Placed to funnel and kill inside planned kill zones | On the lanes that lead from a known breach point to whatever you must not lose |
| Traps | Placed to funnel enemies rather than fight them | Between the breach and the kill zone, where they turn a straight line into a delay |
| Barricades | Placed to shape the path enemies take | Cheapest way to buy time for the layout; they decide where the fight happens |
| Automated defenses | Reinforce the perimeter without constant attention | Cover for the wave arriving while you are rebuilding the room that just opened |
Designing a Kill Zone
- Start from the breach, not from the turret. The arrival point is known before the wave starts, so the funnel should be drawn backwards from it.
- Choose the room you are willing to lose. A kill zone is a place where damage is expected — putting it on top of your production core trades permanently for a temporary win.
- Layer delay before damage: barricades and traps first, turrets after, so enemies spend their health crossing to reach the guns.
- Keep the kill zone repairable. If the room cannot be repaired between waves, the zone survives one breach and then becomes a corridor.
- Staff it. Human assistance is part of the official description of the defense layer — people are not only resources to spend, they are hands that make defenses work.
- Re-draw the map after every breach. A hole changes the shortest enemy path, which changes which of your carefully planned kill zones is now irrelevant.
Wave Scaling: Why Last Wave's Layout Expires
Each wave grows stronger and more aggressive, which forces you to keep adapting your layout while you are also expanding. That sentence contains the pacing of the whole campaign: the ship is never finished, and the wave clock never stops for your renovation. A layout that holds wave 5 comfortably will leak at wave 12 for reasons that have nothing to do with your reflexes.
The official screenshots show what the game feeds you: HUD panels listing the incoming wave, a countdown to arrival and the composition of enemies on the way. Reading that panel is the skill to build early. If the next wave is heavier than the last, the decision is whether to add a tool, add a person, or route somewhere safer and arrive late — and all three are legitimate answers.
Defense vs Propulsion: The Real Trade-Off
Every module you place competes with the ship's other needs. Resources, power and human lives are the three things you manage, and defenses consume all three: material to build, power to run, people to operate and to lose. Meanwhile, the ship still has to keep moving, because if it stops, humanity ends.
Two systems bend that trade. Hulls differ — layouts, systems and loss thresholds vary between ships, so the same defense plan can be cheap on one hull and suicidal on another. And routes differ — each encounter recalculates your resources, momentum and projected mission duration, which means a well-defended ship that has stopped earning is still a failing run. The players who last are the ones who spend on defense while the ship is still moving, not after it has stalled.
Common Defense Mistakes
- Spreading defenses evenly instead of building one deliberate kill zone around the breach.
- Ignoring the wave panel — the information is given to you for free, and ignoring it is choosing to be surprised.
- Expanding while the current layout is already leaking. The store states it plainly: good planning reduces deaths, poor planning distributes them.
- Letting defenses eat the engine. Propulsion is the objective; a defensive masterpiece on a stalled ship is still a loss.
- Assuming the layout carries over between hulls. Loss thresholds and internal layouts differ, so a plan that works on one ship may not be affordable on another.
FAQ
Do aliens attack from random directions in Hull Rupture?
No. Aliens rip holes straight through your hull, and you know exactly when they will arrive and where they will breach — the challenge is preparing for that known point rather than reacting.
What should I build to defend the ship?
Turrets, traps, barricades and automated defenses, arranged according to the official guidance: funnel enemies into carefully planned kill zones while the humans assist.
Do waves keep getting harder?
Yes. Each wave grows stronger and more aggressive, forcing you to adapt your layout while you are also expanding the ship.
Can I ignore defense and just race the route?
The ship must keep moving, but momentum does not stop breaches. Every encounter recalculates resources, momentum and mission duration, so unopposed damage turns into lost time and lost crew.